After completing the Fallen Shield encounter by rolling those Servitors, you can use the Grav Launcher to reach the top of the structure. This takes you to a large arena where you’ll face the final boss. Here’s our Destiny 2 Grasp of Avarice dungeon guide to help you defeat the final boss named Captain Avarokk the Covetous, and perhaps you’ll even acquire the Eyasluna.
Note: For more information, check out our Destiny 2: Season of the Lost guides and features hub. Likewise, you can take a look at our main guide for the Grasp of Avarice dungeon.
Destiny 2 Grasp of Avarice – Captain Avarokk boss guide
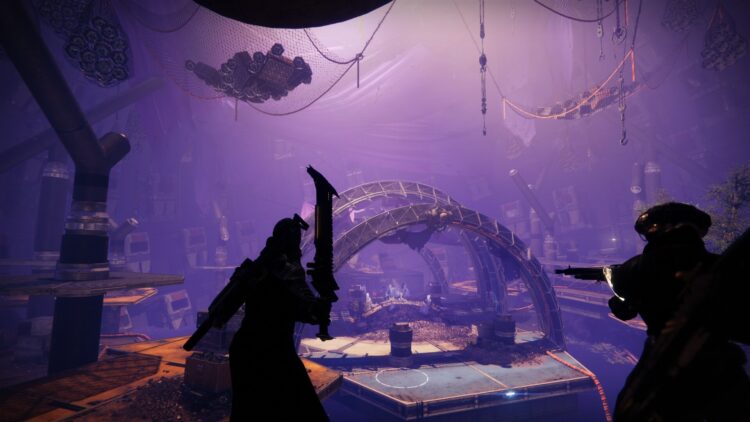
Before you start the encounter (which is done by picking up the red engram at the back), look around first so you can see the lay of the land. All the dungeon mechanics are in play here, too. Likewise, the Captain Avarokk boss fight in Destiny 2‘s Grasp of Avarice dungeon has a couple of annoying mobs.
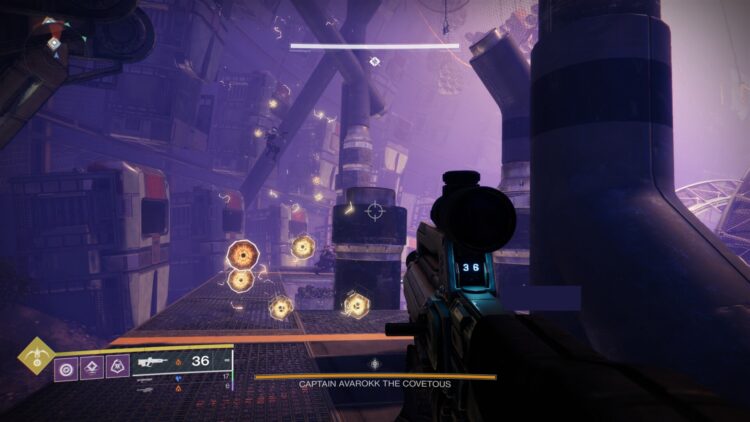
The boss itself is flanked by two lackeys, a Vandal and a Shank. Take out the Shank first since it’ll snipe you to death. The Vandal, meanwhile, will drop 10 faux-otic engrams for your Burdened by Riches stacks. You can then charge up the Icon of Excess crystal in the center of the arena. Just watch out because the boss tends to roam around.
Moreover, you want to take a look at the main structure. The Ether Tanks can be found on the metal beams to the left, right, and middle. Once you kill the Vandal that spawns at the sides, it’ll drop the Scorch Cannon that you can use.
Make sure you communicate with your teammates. Once you cause one Ether Tank to explode, 10 faux-otic engrams will drop at the sides — again, they’re at the left, right, and middle. Each player should try to pick up at least 10 on their side. Trying to grab the others that are further away can be risky since, if you’re too slow, they’ll just explode.
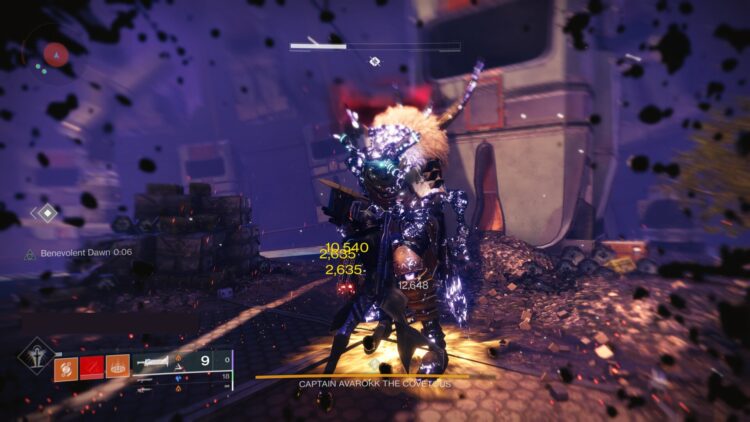
Once you have the stacks, go back to the crystal and charge it up. You’ll need around 60x Burdened by Riches stacks to fully activate the crystal, removing Captain Avarokk’s immunity. This allows you to begin the DPS phase. Pump out as much damage as you can because the boss will be immune again after a short while. Just lather, rinse, and repeat to defeat Captain Avarokk and clear the Grasp of Avarice dungeon in Destiny 2.
Check your loot, which should, hopefully, include an Eyasluna (the boss’ loot pool includes all other dungeon items). Also, if you look at the drop pod near the chest, you’ll find another Wilhelm-7 Recording. Lastly, you’ll complete an early quest step for the Gjallarhorn if this is your first time clearing the dungeon.
Destiny 2: Season of the Lost is available via Steam. For more information, check out our guides and features hub.
Destiny 2: Grasp of Avarice — Captain Avarokk boss guide
Source: Showbiz Celeb Central


0 Comments