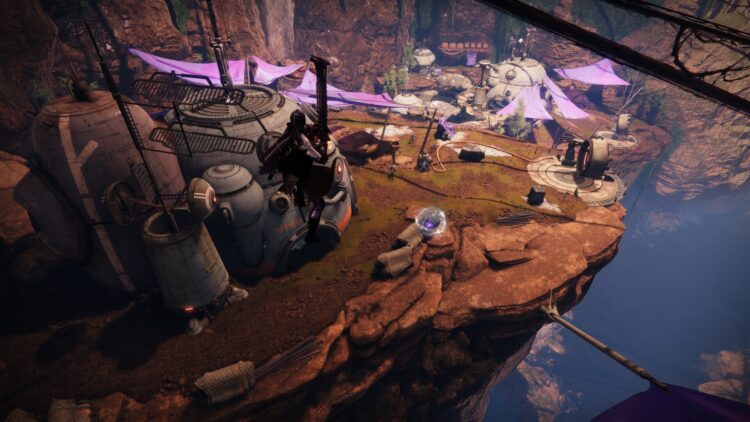
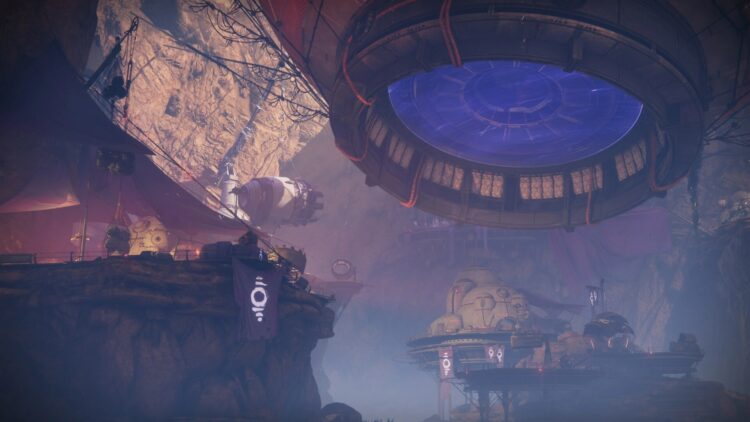
After defeating Phryzhia the Insatiable and defusing mines with your Sparrow, you’ll reach a wide-open area. You’ll need to destroy the Fallen Shield, using launchers to push you to new locations. Here’s our Destiny 2 Grasp of Avarice dungeon guide to help you complete the Fallen Shield encounter and the Servitors.
Note: For more information, check out our Destiny 2: Season of the Lost guides and features hub. Likewise, you can take a look at our main guide for the Grasp of Avarice dungeon.
Destiny 2 Grasp of Avarice – Fallen Shield encounter guide
The Fallen Shield encounter in the Grasp of Avarice dungeon in Destiny 2 has four key mechanics to consider:
- Grav Launchers – There are multiple areas in this large chamber, and each one has a Grav Launcher that lets you reach different spots. They can be rotated as well.
- Scorch Cannons – The Scorch Cannons dropped by yellow-bar Vandals are used to activate the launchers by shooting the nearby Ether Tank. You don’t need a full charge, but you do need to hold the button for a second or two just to ensure that there’s a flash (as opposed to quick-firing with a tap).
- Burdened by Riches – Not all areas have mobs, so you really need to explore a bit. Once you see and take them out, though, they’ll drop faux-otic engrams. Pick these up to gain stacks, then stand near an Icon of Excess crystal (each area has one) until it’s fully charged. Now, comes the fourth mechanic…
Rolling the Servitors and Destroying the Fallen Shield
Once a crystal is charged, the Servitor in that area will lose its shield. Destroy it and, rather than disappearing, you’ll notice that its corpse can be moved. Go ahead and roll it all the way to the Grav Launcher.
Make sure the Grav Launcher is rotated so that it faces the circular notches in the center. Activate the pad with the Scorch Cannon and watch the Servitor blow up the central device.
Note: Be careful when rolling the Servitor because it can fall off a cliff. If this happens, you need to move to a new area where you can find mobs. All it does is cause you to lose a few minutes. Thankfully, there’s no timer for the entire encounter.
After four of the devices have been blown up, you’ll be able to go to the central section. You can get the chest here for your loot (i.e., Hero of Ages sword, gloves, and more). Likewise, if you’re going for the Gjallarhorn Catalyst, the third Reaver Vandal will spawn now.
In any case, you can advance further by rotating the central Grav Launcher so that it’s facing directly upward. This takes you to the final area where you’ll face Captain Avarokk.
Destiny 2: Season of the Lost is available via Steam. For more information, check out our guides and features hub.
Destiny 2: Grasp of Avarice — Fallen Shield encounter guide
Source: Showbiz Celeb Central


0 Comments